Photographing an Independent Brewery
How to photograph steam, stainless steel, and the mash in low light, and how to make one step of a brew day legible in a single frame.
A brewhouse is a low light room full of reflective metal and moving steam, and the photograph you want is almost never the one the room gives you for free. You solve it by putting a person between the camera and the tank, by lighting the steam from the side instead of the front, and by choosing one step of the process and letting the rest of the day go unphotographed. If you want to know what is actually happening inside the vessel you are pointing at, a practical journal on how craft beer is brewed is a better briefing than any shot list.
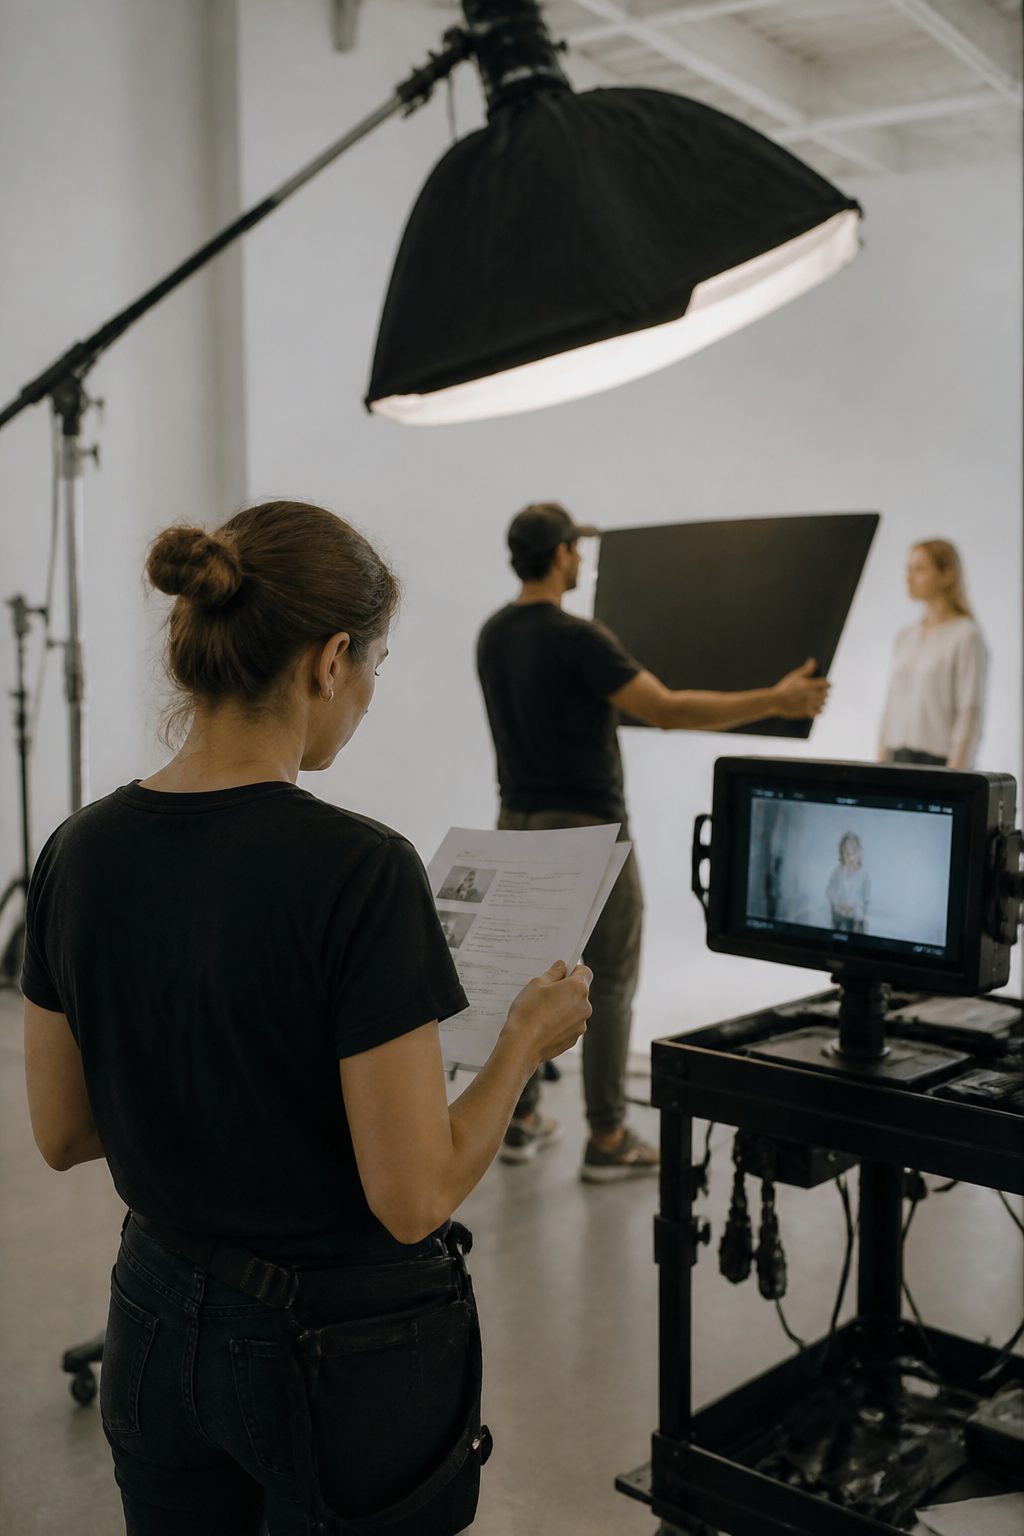
How do you photograph steam and stainless steel in a brewhouse?
Steam is only visible when it is lit from the side or the back. Front light passes straight through it and you get a grey haze over the whole frame. Put your source low and to one side of the kettle, or wait until a window or an open door is behind the plume, and the steam turns into a shape with an edge.
Stainless is a mirror with a curve. It will show you the photographer, the door, the ceiling lights, and the one bright window you forgot about. Two fixes work. First, move yourself until the reflection in the tank is something you want in the frame, usually a dark wall or a person. Second, use a polarizer, which kills part of the sheen on brushed metal and most of it on polished. Do not kill all of it. A tank with no highlight reads as grey plastic.
Exposure is where most brewhouse frames fail. The room is dark, the tank is bright, and the steam sits between them. Meter for the highlight on the metal and let the room go dark, or meter for the room and let the tank blow out. Pick one. A slightly hot rim on a tank looks like work. A grey tank in a grey room looks like nothing.
Shutter speed matters more than aperture here. Steam moves, and a fast shutter freezes it into cotton while a slow one draws it across the frame. Both are usable. What is not usable is the in between, where the steam is neither frozen nor flowing.
Which steps of a brew day are worth a photograph?
You cannot photograph a brew day. It runs six hours and most of it is waiting. You photograph three or four moments and you let the rest be a sentence in the caption.
The grain bill is the first. Sacks stacked, a scoop, a mill running, the crush coming out. This is the one part of the day with texture and dust and hands, and it explains the beer before any liquid exists.
The mash is the second, and it is the hardest. The grain and the water are inside a closed tun, and what you can see is a man with a paddle and a thermometer. That is enough. Get the paddle, the steam off the top, the number on the thermometer, and the colour of the liquid at the edge of the tun. One frame of that tells the reader that something is being converted, even if the conversion is invisible.
The boil is the third. This is the steam shot, and it is the one everybody wants. Shoot it from the side, shoot it against a dark wall, and include the kettle edge so the reader knows where the steam is coming from.
The transfer and the fermentation are the fourth. Hoses, pumps, a tank door open, a sample pulled into a glass. Fermentation itself is a still tank with a blow off tube bubbling, and a photograph of a bubbling tube is a photograph of a bubbling tube. Shoot the tank, the gauge, the clipboard, the hand on the valve.
Skip the cleaning. It is half the job and it photographs like half the job.
How do you make one step legible in a single frame?
A photograph of a process has to answer three questions without a caption: what is the material, what is being done to it, and what is the result. If any of the three is missing, the frame is a mood shot.
Take the mash. The material is grain and water. The action is a person stirring or a valve open. The result is a colour change in the liquid, or a reading on a dial. Put all three in one frame and the reader understands mashing without knowing the word.
This is why hands matter more than faces in process work. A hand on a valve says what is happening. A face says how the person feels about it, which is a different photograph and usually a worse one for this job.
Depth of field is your tool for choosing which of the three the reader sees first. Focus on the hand and let the tank go soft, and the frame is about the action. Focus on the gauge and let the hand go soft, and the frame is about the number. Both are correct. Decide before you shoot, not after.
One more thing. Shoot the same step at the start and at the end. The pair does what a single frame cannot, and it costs you two minutes.
How do you photograph a beer so that it sells the glass without lying about it?
The glass is a portrait, and the rule is the same as any portrait: light the subject, not the background.
Backlight the beer and it glows. A window behind the glass, a white card behind that, and the liquid carries its own colour. This is the shot that sells a hazy IPA or a dark stout, because the colour is the product.
Side light shows the head and the carbonation. Front light flattens everything and is only useful when the glass itself is the subject, a logo, a shape, a full pour against a plain wall.
Do not lie with the pour. A beer photographed with a two inch head that pours with half an inch is a complaint waiting to happen. Photograph the head the beer actually gives you, in the glass the bar actually uses, at the temperature it is actually served. If the beer is cloudy, show it cloudy. If it is bright, show it bright. The reader who orders it will have the glass in front of them in ten minutes, and they will remember.
Clean the glass. Not dry, clean. A smudge on the outside of a glass is the single most common defect in beer photography and the easiest to fix.
What the room gives you for free
A working brewery is a dark room with one good light source, and that source is usually a door. Find it in the first ten minutes, before you take a camera out of the bag. Stand where the light crosses the room, put the tank between you and the dark, and wait for a person to walk into the beam.
That is the whole method. One step, one frame, one light. The rest of the day is yours to watch.