Photographing Devotional Objects and Old Books
How to light old objects without flattening them, record condition before returning them, and frame small devotional pieces at the right scale.
Photograph an old object with a single raking light, a dark background, and a scale in the frame. Record its condition with wide, detail, and label shots before it leaves your hands. A small object needs to fill most of the frame, with one reference object beside it.
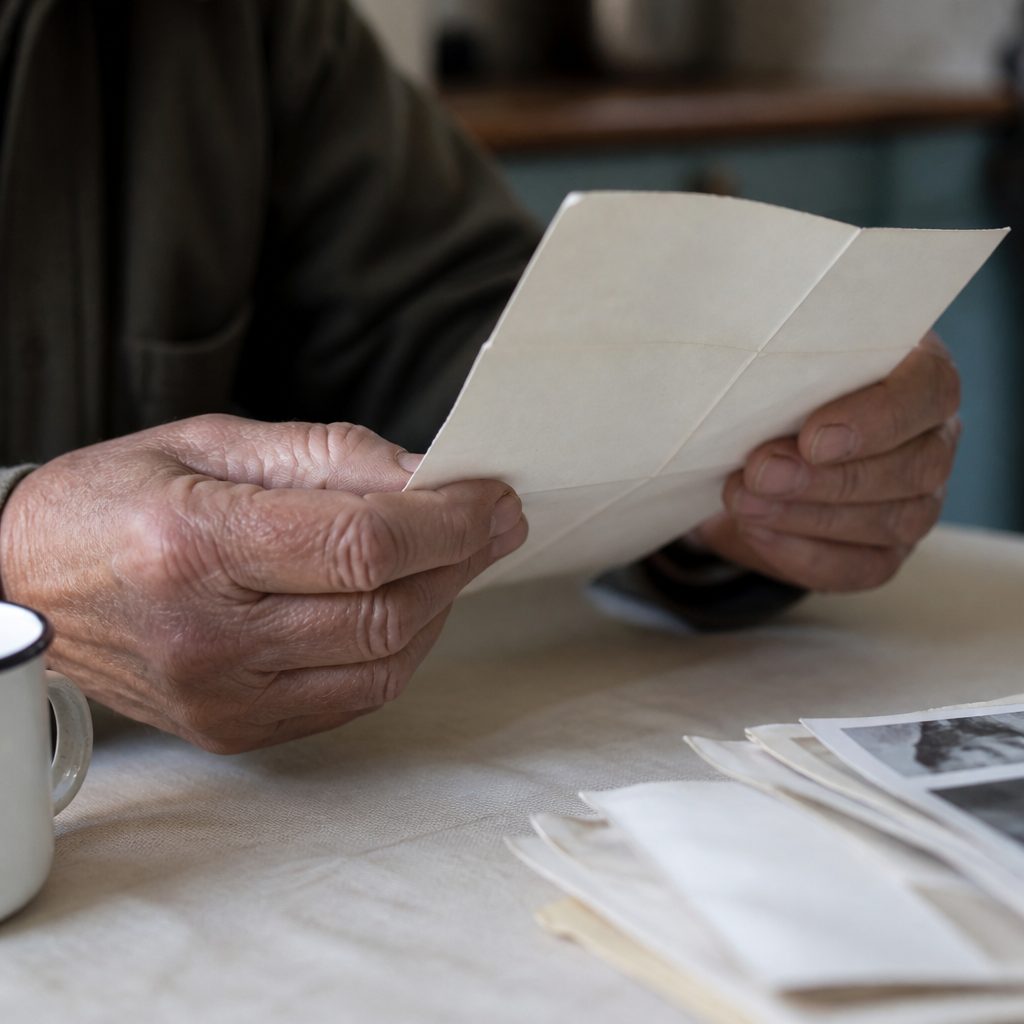
How do you light an old object without flattening its material?
One light, placed low and to the side. That is the whole method. A softbox or a bare bulb does not matter as much as the angle. Put the light at roughly 20 to 30 degrees above the surface plane and 45 to 60 degrees to one side of the camera axis. The shadows that fall across the weave, the tooling, the dents, and the scratches are the material. Kill them with frontal light and you have a flat copy of a shape.
For a chasuble or a textile scapular, the light should graze the surface almost parallel. You want the nap and the thread to cast their own small shadows. For a silver medal or a brass crucifix, the same angle works, but you will need a black card on the shadow side to keep the metal from going dead. Move the card until the highlight sits where the engraving is. Do not add a second light. Add a white card on the opposite side if the shadow side is too dark to read, and keep it at least a foot away so it fills without erasing.
Backgrounds matter as much as the light. A dark grey or black cloth absorbs stray light and keeps the eye on the object. A white background bounces light back into the shadow side and flattens the texture you just built. Use white only when you need a clean silhouette for a catalog record.
Old paper is its own problem. Foxing, water stains, and the grain of a laid paper all read best under the same raking light. Tilt the book or the print slightly toward the light until the surface texture appears. If the page is glossy, angle the camera and the light so the reflection falls outside the frame. A polarizing filter helps, but it also cuts the sheen that tells a reader the paper is coated. Use it only when the glare is unmanageable.
A documentary journal on the material culture of Catholic devotion, Sacred Object Journal, treats this kind of looking as part of caring for devotional objects, and its notes on materials and wear are useful when you have to describe what you see.
How do you record the condition of an object before giving it back?
Treat the condition record as a separate job from the portrait. You are not making a beautiful picture. You are making evidence that protects you and the owner.
Start with a wide shot that shows the whole object on a neutral surface, with a label in the frame. The label carries the date, the owner's name or initials, and a short object description. Write it on a card and place it beside the object, not on it. That single frame establishes what you received and when.
Then shoot the damage. Every crack, chip, tear, stain, loss, and repair gets its own frame, square to the surface, with the light raking across it. Fill the frame with the damage and include a scale. If a spine is broken, photograph the hinge from both sides. If a medal has a worn edge, photograph the edge straight on and at an angle. If a page has a repaired tear, photograph the repair and the surrounding paper in the same frame so the relationship is clear.
Shoot the maker's marks and any inscriptions. A hallmark, a publisher's device, a presentation inscription, a previous owner's name. These are the identifiers that will matter if the object is ever questioned. Photograph them straight on, in focus, with the light angled to bring up the impressed lines.
Finish with a set of overall views from six angles if the object is three dimensional: front, back, both sides, top, bottom. For a book, add the spine, the title page, the colophon, and any page with a condition note. Keep the same lighting and the same background for the whole set so the frames can be compared later.
Hand the files over with the object. A folder named with the date and the owner's initials is enough. Do not retouch the condition frames. Do not crop out the damage. The point is a record, not a portfolio.
What scale does a small object need in the frame?
A small object needs to fill the frame, and it needs one reference object beside it. A coin, a ruler, or a metric scale card. Without a reference, a photograph of a medal is just a shape. With one, a viewer can read size, thickness, and the relative scale of the wear.
For anything under about four inches, fill 70 to 80 percent of the frame with the object. Leave enough room for the scale card and a small margin. For a rosary or a chain, lay it in a loose curve rather than a tight coil. A tight coil hides the links and the wear on the links. A loose curve shows the whole length in one frame and lets the light rake across the beads.
Use a macro lens or a close focus setting, and stop down to f/8 or f/11. At high magnification the depth of field collapses. If the object has depth, focus stack it or accept that only the front plane will be sharp and say so in the notes. A single sharp plane of a worn surface is often more useful than a soft overall view.
Keep the camera parallel to the object. A small tilt changes the apparent proportions and makes a round medal look oval. If you must tilt to catch the light, tilt the object and the light together, not the camera.
What do you do with the files after the object goes back?
Name them, back them up, and write a short condition note to go with them. The note should say what you photographed, when, with what light, and what you saw. Two or three sentences are enough. If you noticed active deterioration, say so plainly and let the owner decide what to do.
Keep the raw files. A condition record is only useful if it can be re-examined. Do not convert to black and white for the record frames. Color carries information about paper tone, metal tarnish, and textile fading that a monochrome file loses.
If the object is going to a conservator, send the files ahead. A conservator can read a raking light photograph better than a description. If the object is going back to a family shelf, the files are the only record of its state on the day you had it.
A note on handling
Clean hands, no gloves for paper unless the paper is friable, nitrile gloves for metal and textiles. Support a book on a cradle rather than opening it flat. Do not force a spine to lie down for a photograph. If the object cannot be photographed safely in a position, photograph it in the position it can hold. A record of a closed book is better than a damaged book.
Work on a table with nothing else on it. Keep a pencil and a notepad beside the camera. Write down what you see as you see it, not after. The notes and the frames together are the record.
Where to read more about the objects themselves
The material history of these objects is a subject in its own right. A missal's binding, a scapular's cloth, a medal's alloy, and the way a family stores them all affect what you will see through the lens. Sacred Object Journal covers books of devotion, prayer objects and sacramentals, and the care and transmission of both, with attention to materials, provenance, and condition. If you photograph these objects often, the vocabulary in that journal will make your condition notes more precise.